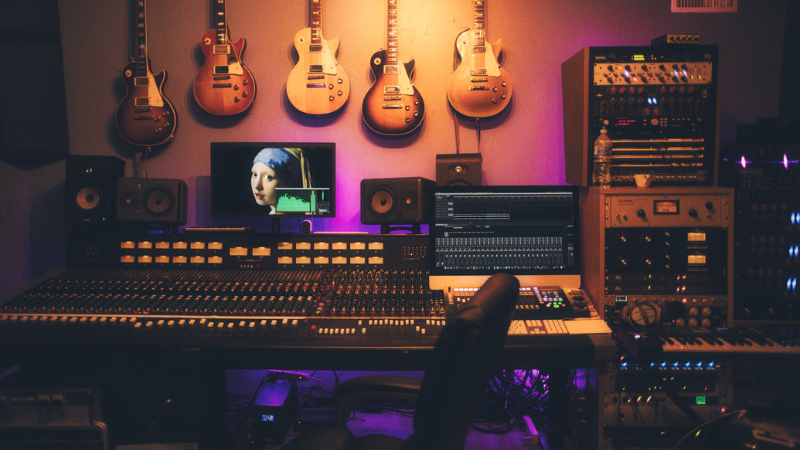
Relocating a music studio can be a daunting task. Whether you’re a professional musician, a dedicated hobbyist, or a studio owner, ensuring the safe transport of your instruments and equipment is crucial. This guide will walk you through the essential steps of moving your music studio, with a focus on shipping instruments and managing your gear.
Planning and Preparation
Create an Inventory
Start by making a detailed inventory of all your equipment, instruments, and accessories. This list will help you keep track of everything during the move and ensure that nothing is left behind or lost. Include details such as the condition of each item and any specific packing requirements.
Assess Your New Space
Before packing, visit your new studio location to assess the space. Measure doorways, hallways, and stairwells to ensure your larger items will fit through them. This will help you plan the logistics of the move and avoid any last-minute surprises.
Packing Instruments and Equipment
Protecting Your Gear
Proper packing is crucial to protect your instruments from damage. For each item, consider the following:
- Instruments: Use their original cases if available. For fragile instruments like pianos or stringed instruments, consider using padded instrument bags or cases and add extra padding with bubble wrap or foam.
- Electronic Equipment: Detach all cables and accessories. Use anti-static bags for sensitive electronics and bubble wrap for added protection. Store all small parts in labeled boxes to keep them organized.
- Heavy Equipment: For larger items like amplifiers or studio monitors, use moving blankets to wrap them and secure them with moving straps. If possible, disassemble any removable parts to make transportation easier.
Packing Materials
Opt for premium packing materials, including bubble wrap, packing peanuts, and durable boxes. For fragile items, enhance protection with foam padding or custom-cut foam inserts. Clearly label each box with its contents and the room it’s designated for, making unpacking more straightforward.
Transporting Your Gear
Hiring Professional Movers
Consider hiring professional movers who have experience with relocating musical instruments and studio equipment. They can provide specialized packing and handling to ensure your gear arrives in perfect condition. Ensure the moving company is insured and check their references to confirm their reliability. For reliable assistance with moving your music studio, consider using Shiply USA to connect with experienced moving professionals.
DIY Moving Tips
If you’re handling the move yourself, use a dolly or hand truck to transport heavier items. Avoid lifting items by yourself to prevent injury. Enlist the help of friends or colleagues to assist with the move. Make sure to secure all items in the moving truck to prevent shifting during transit.
Setting Up Your New Studio
Unpacking and Arranging
Once you arrive at your new studio, start by unpacking the essentials. Set up your workspace and arrange your equipment based on your workflow preferences. Refer to your inventory list to ensure everything has arrived and is in good condition.
Reconnecting and Testing
Reconnect all your electronic equipment and test each item to make sure it’s functioning correctly. If you discover any damage, make sure to document it immediately and reach out to your insurance provider or moving company without delay.
Final Tips
Stay Organized
Keep all packing materials and instructions for reassembling equipment in a designated area. This will help streamline the setup process and ensure you have everything you need.
Take Your Time
Don’t rush the unpacking and setup process. Take the time to carefully arrange your studio and test each piece of equipment. This will ensure that your studio is set up to your liking and ready for use.
Conclusion
Relocating your music studio requires careful planning and execution. By following these guidelines, you can ensure a smooth transition and have your studio up and running in no time, allowing you to focus on creating beautiful music in your new space.


